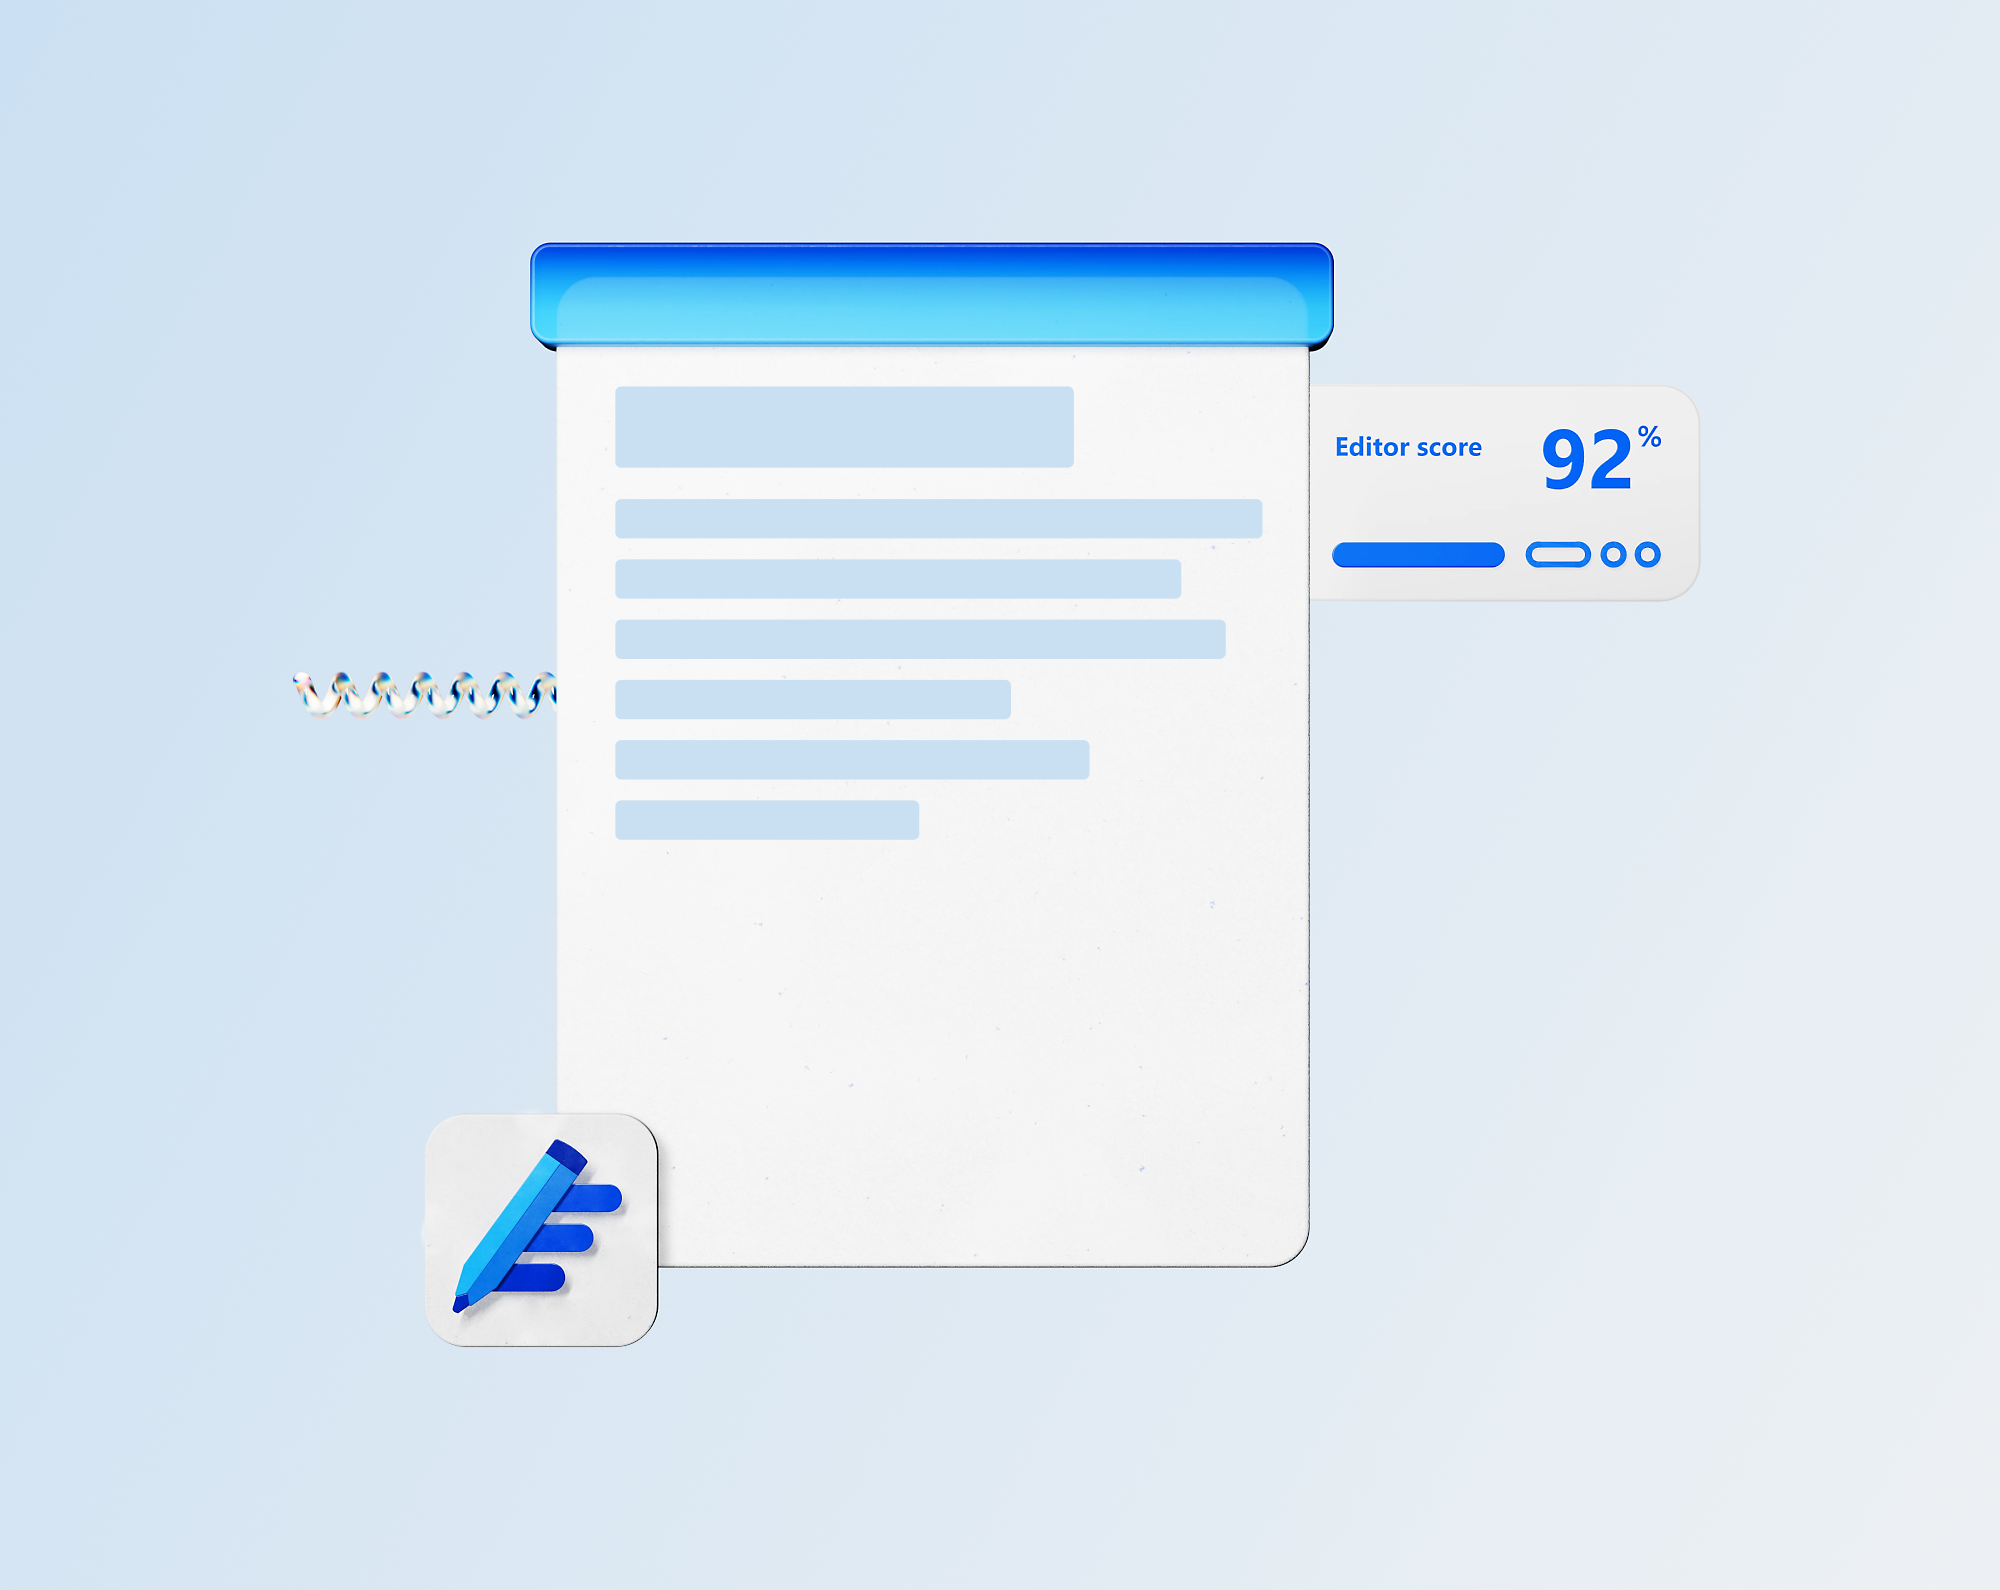
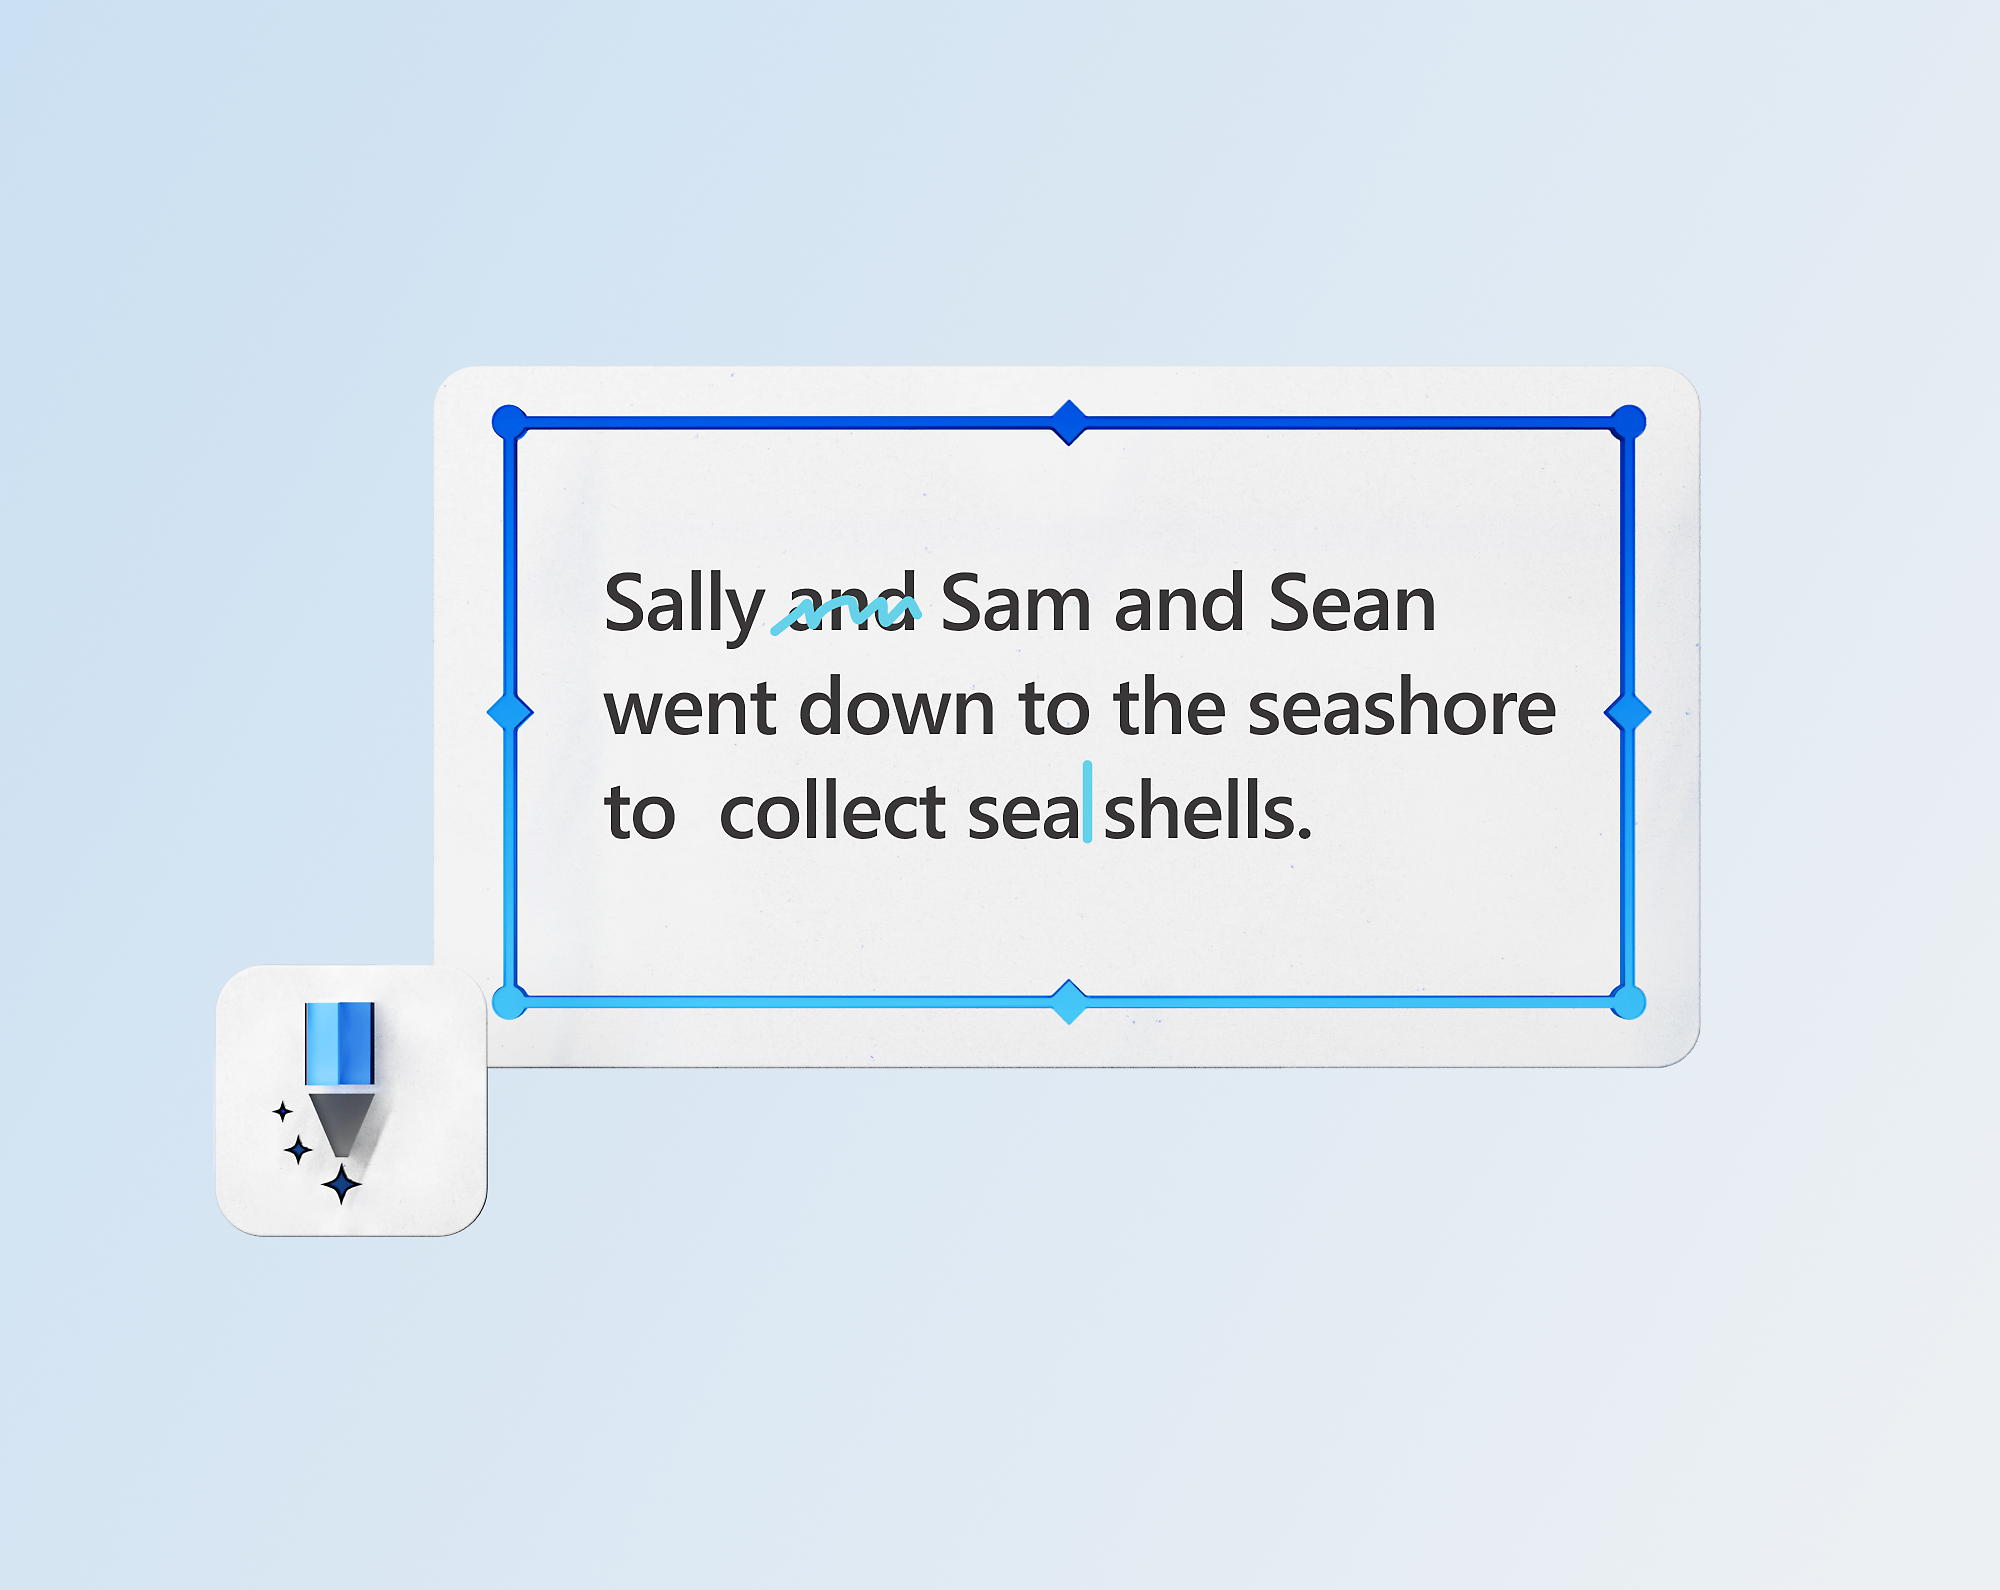
Achieve more than ever using AI-powered features1with Word, Excel,3PowerPoint, Outlook,4 and other Microsoft 365 apps with a Microsoft 365 Personal or Family subscription.
Microsoft 365 Personal or Family subscription required; AI features only available to subscription owner and cannot be shared; usage limits apply. Learn more.
Copilot features in Outlook apply to accounts with @outlook.com, @hotmail.com, @live.com, or @msn.com email addresses and are available in Outlook.com, Outlook built into Windows, Outlook on Mac, and iOS and Android apps.
Once your paid subscription begins, cancelation policies vary based on your status as a new customer, product, and domain selections on Microsoft. Learn more. Cancel your Microsoft 365 subscription any time by going to the Microsoft 365 admin center. When a subscription is canceled, all associated data will be deleted. Learn more about data retention, deletion, and destruction in Microsoft 365.


Follow Microsoft 365